I recently set up a Raspberry Pi as Chromium Kiosk so I could display a webpage on a wall mounted TV screen. I have written what I did in an easy to follow recipe format. If you follow configuration steps carefully you should be successful in setting up your Raspberry pi to work as a kiosk.
Ingredients
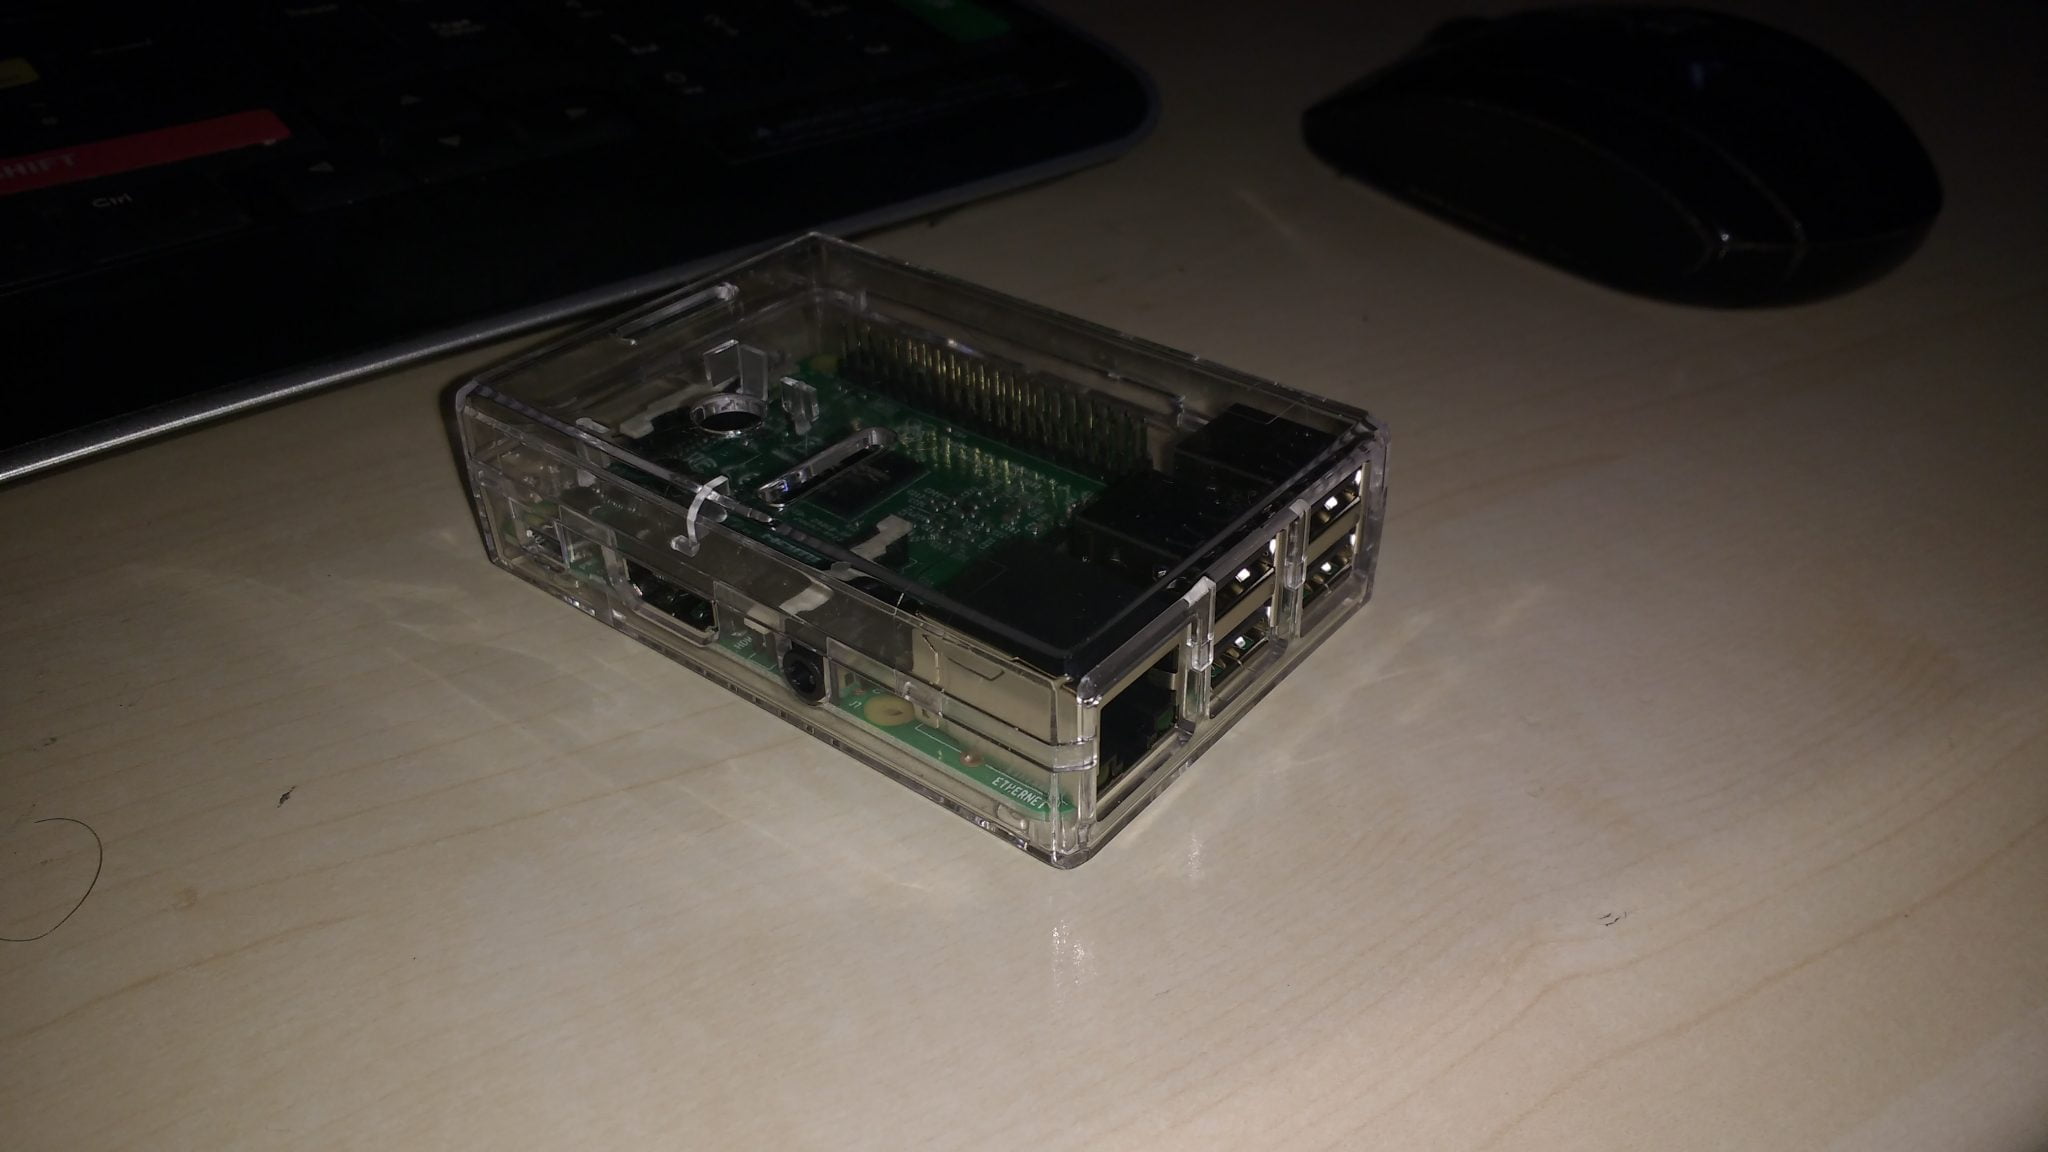
- Raspberry Pi 3 B wireless
- 16Gb micro sd card
- HDMI Cable
- USB power cable
- Case
- Temporary USB Keyboard & USB mouse
Preparation and Cooking time
About 1 to 2 hours depending how many mistakes you make and start again 🙂
Method
Preparation
- Download Raspberian Stretch Lite from https://www.raspberrypi.org/downloads/raspbian/
- Unzip on to your computer
- Obtain Etcher to burn the image onto the SD card
- detailed instructions https://www.raspberrypi.org/documentation/installation/installing-images/README.md
First Boot
Insert SD card to Raspberry. Plugin HDMI to Raspberry – TV / Monitor. Plugin in USB keyboard. Plugin the power, should boot to a login screen.
user: pi
password: raspberry
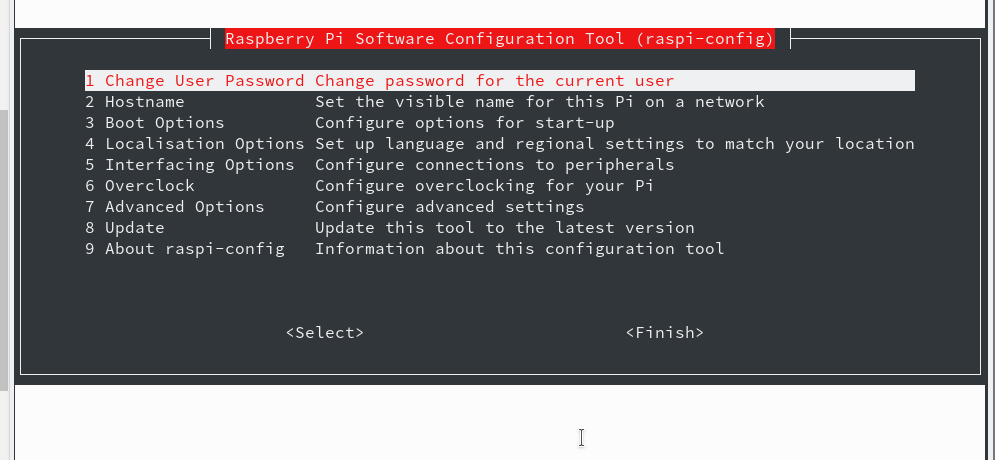
Basic Setup
Set up secure password (option 1) – as SSH opens up access
Set up host name ( option 2)- makes it easier to find for login in as SSH
Set up Boot Options (option 3 -> B1 – >B2 ) – we will want the Raspberry to Boot into Console / Autologin
Set up SSH (option 5 -> P2 ) – this is important – as once you set up a true kiosk you can’t login, so SSH gives you away to set up easily. (option 5 -> P2 )
This is all done by the Raspberry Configuration tool
sudo raspi-config
Set up Wireless Access
If you are not using an ethernet cable you will need to set up Wireless access. Raspberry instructions here https://www.raspberrypi.org/documentation/configuration/wireless/wireless-cli.md
Edit the config file ( I will use vi but you can use nano ).
sudo vi /etc/wpa_supplicant/wpa_supplicant.conf
and add a network, you can generate this with
wpa_passphrase yourSSID yourwirelesspassword
which outputs
network={
ssid="yourSSID"
#psk=" yourwirelesspassword"
psk=fdcdd08a9d6bd739f544a902c1a59dd8a7eedea30b4e4ba1afa61d3cf01222df
}
so you can if you want to be fast and if you like to append directly
sudo wpa_passphrase yourSSID yourwirelesspassword >> /etc/wpa_supplicant/wpa_supplicant.conf
I found I had reboot to activate.
sudo reboot
Test SSH
OK you should be all ready to test connecting from your computer on the same lan via SSH
linux or Max terminal
ssh your-pi-hostname -l pi
password:  yourpasswordyouset
If you are on Windows, you will probably use Putty for SSH.
and you should be in!
Install all the software needed
sudo apt-get update
to make sure all is updated ( and you are connected to the internet )
sudo apt-get install chromium-browser
to get Chromium
you will also need xinit
sudo apt-get install xinit
and xdotool
apt-get install xdotool
Setting up the X window
Before going full kiosk lets see if Chromium will launch.
edit the .xinitrc file in pi home directory
vi ~pi/.xinitrc
and input
#!/bin/sh
WIDTH=`xwininfo -root|grep Width | awk '{ print $2}'`
HEIGHT=`xwininfo -root|grep Height | awk '{ print $2}'`

exec chromium-browser --window-size=$WIDTH,$HEIGHT
The width and height are there as I found Chrome doesn’t know how to go full size. You can apparently to it in chromium defaults file, but this way is easier.
Now login on the console (not via SSH) via the keyboard and mouse attached to the pi and type
startx
Chromium should launch and you should be able to browse the web
Set up the Kiosk
we add
xset s off
xset s noblank
xset -dpms
to turn off screen savers
We add an hourly loop ( if required, or adjust the time in seconds ) to refresh the page (ctrl-F5)
(
while true
do
sleep  3600
xdotool key "ctrl+F5"
done
) &
and some more options to chromium –
-incognito --kiosk http://your-site
I also found I needed this –disable-webgl as one webpage page wasn’t displaying properly, so the final file is
#!/bin/sh
WIDTH=`xwininfo -root|grep Width | awk '{ print $2}'`
HEIGHT=`xwininfo -root|grep Height | awk '{ print $2}'`
xset s off
xset s noblank
xset -dpms
(
while true
do
sleep  3600
xdotool key "ctrl+F5"
done
) &
exec chromium-browser --window-size=$WIDTH,$HEIGHT --disable-webgl --incognito --kiosk http://your-site
Start it on login
And then we want to auto start on login, I found the easiest was was to use .profile ( rc.local seemed to load too early )
vi ~pi/.profile
and add
if [ -z "$SSH_TTY" ]; then
    startx -- -nocursor
fi
The if statement just stops us trying and failing to launch when an SSH login
— -nocursor removes the mouse cursor
Tidy up boot up messages
Finally, when the PI is connected to the usb port of the monitor it will boot on power up, but there re lots of boot messages. I manged to get rid of most of them by editing cmdline.txt
sudo vi /boot/cmdline.txt
and adding this to the single line
loglevel=0 logo.nologo quiet
and also changing console=tty1 to console=tty3
Back it up
Nothing worse than doing all the work and then some how your SD card get corrupted – Backup the SD card.
Backup instructions here https://www.raspberrypi.org/documentation/linux/filesystem/backup.md
for linux users, put the card in your machine, find out what device it is and
sudo dd bs=4M if=/dev/sdbx of=raspbian.img
where /dev/sdbx is the actual device name of your card of course
Did I miss anything?
I wrote this after the fact, so I could remember what I did if and when I do it again. I may have missed something, or something may need a better explanation, please use the comments box to let me know.
Leave a Reply